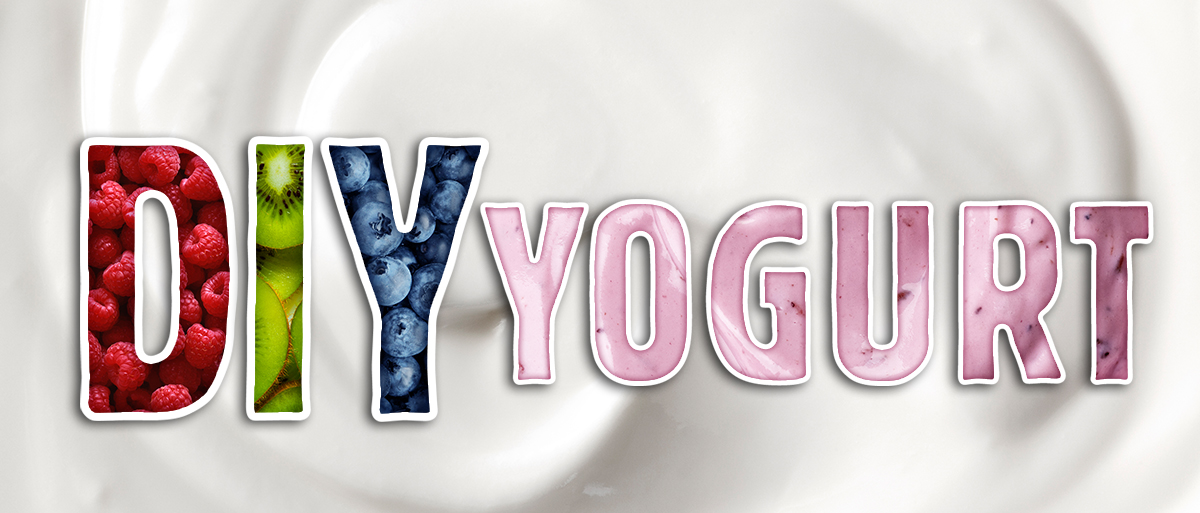
Yogurt is all the rage right now, and for good reason. Not only is it delicious and versatile, it has all kinds of health benefits:
- Yogurt is packed with protein and other essential nutrients
- The probiotics in yogurt may help boost the immune system and promote a healthy digestive tract
- Research confirms yogurt eaters are more likely to have lower blood pressure and blood sugar
- People who eat more than three servings of yogurt per week appear to be better able to manage their weight
But with so many yogurt options available at the store – from plain to flavored, from Greek to Icelandic – why make your own? There are many reasons why making your own yogurt is a great choice. You get complete control over the ingredients, you can custom-create your own flavors, and it is inexpensive and easy! Another bonus is that it’s a fun way to get your kids involved in the kitchen.
Tools You’ll Need
- Saucepan
- Candy thermometer
- Spoon, whisk
- 1-cup measuring glass
- Pitcher or large measuring glass (4-plus cups)
- Oven, slow cooker or Euro Cuisine Automatic Yogurt Maker
Ingredients
- 4 cups milk (fat percentage of your choice)
- Yogurt culture starter or 5 tablespoons store-bought plain yogurt (make sure it says “live and active cultures” on the package)
- Prepared ice bath (you can do this in your sink)
- Fruit, syrup or other flavorings (optional)
Instructions
- Heat the milk. SLOWLY heat 4 cups of milk in a saucepan until it reaches 180 degrees. This creates a thicker and creamier yogurt. If you skip this step, you’ll end up with runny, separated yogurt.
- WHILE YOU WAIT: If using a starter, follow the directions on how to prepare 1 tablespoon of the starter. If using store-bought yogurt, measure out 5 tablespoons. This will be your culture to introduce the healthy bacteria.
- Cool the milk. When your saucepan milk reaches 180 degrees, remove from heat and pour into a second container like a large measuring glass to speed the cooling process. Stick the whole thing in an ice bath until it cools to 110 degrees, then remove it.
- Add the starter to inoculate. Ladle out about a cup of the cooled milk with your small measuring glass and mix it with your starter/yogurt. Then pour it back into the rest of the cooled milk, and stir.
- OPTIONAL: Add flavorings. Want to add fruit to your yogurt?
- Combine in a saucepan:
- ½ cup fresh fruit
- 4 tablespoons sugar (no more!)
- 1 cup water
- Cook until thick (about 10 minutes)
- Cool down to 110 degrees in the ice bath
- Add ALL (fruit and syrup) to the cooled milk/yogurt mixture
- Incubate for 5-10 hours. Pour the mixture into glass jars (leave the jars open) and keep it warm at 110 degrees to grow the good bacteria for 5-10 hours. The longer you incubate, the thicker and tangier the yogurt will be. You can do this with a warm-water bath in a slow cooker or wrapped in towels in a turned-off oven.
- If you find it too tricky to keep the temperature in the “just right” zone, you can use a yogurt maker. Mine is a Euro Cuisine Automatic Yogurt Maker. You just set the open jars inside, place the plastic dome on top, turn it on, set the hours and press “Start.”
- Refrigerate 3 hours before serving. When the incubating time is up, remove your yogurt jars from the machine (or slow cooker, or oven) and close them with lids. (The jars from my yogurt maker have handy rotatable tops that allow you to set the date on which you made the yogurt.) Refrigerate the yogurt at least three hours before eating.
Then, enjoy! The yogurt will keep for up to 10 days – if you don’t eat it all first! Don’t forget to save a little as your starter for the next time you make yogurt. (Note: The starter can be refrigerated for 10 days or frozen for up to 3 months).