Cheeseburger plus pie – who wouldn’t love that combo? No need to fire up the grill, just pull together a handful of ingredients and you’ll have dinner in no time. After coming home from a weekend away, I was at a loss for what to make. Don’t you love when you come home and there are slim pickings in your fridge? I saw the Cheeseburger Pie recipe and decided to piece together my own version. What I love about cooking is that once you figure out your way around the kitchen, you can take a recipe and make it fit your needs.
Step 1:
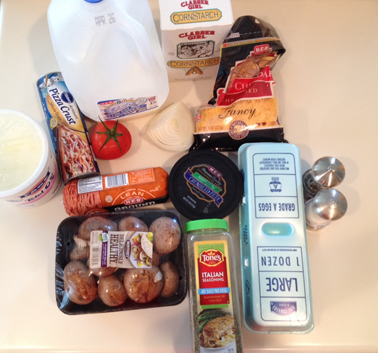
Gather ingredients.
I am a dietitian at heart and have a terrible habit of trying to make everything healthy, so here is how I tweaked some of the ingredients:
- I chose to use refrigerated wheat pizza dough in place of a pie shell. This decreases the fat while increasing nutrients and fiber.
- I used nonfat plain Greek yogurt in place of the mayonnaise. This is an equal exchange for lower fat and higher protein, plus eight other essential nutrients.
- I also love mushrooms and tomatoes on my cheeseburgers, so I added these veggies to help maximize nutrients.
- I used lean ground turkey – because it was what I had!
- (Please ignore the feta photobomb!)
Step 2:
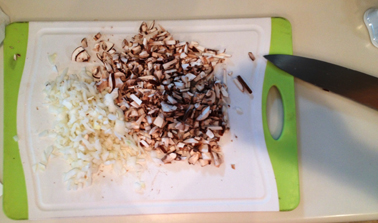
Chop the veggies and preheat the oven.
Step 3:
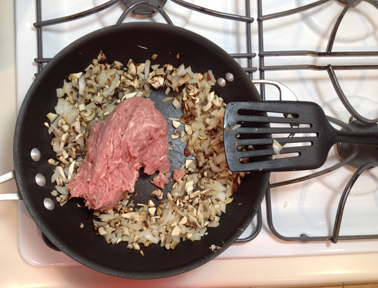
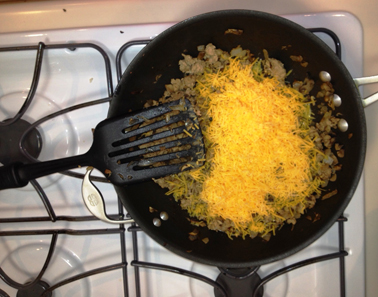
Sauté the onion and mushrooms for about five minutes. Add the ground meat. Stir enough so it doesn’t stick but gets a nice browning flavor on the meat and veggies. This will enhance the flavor once it is done.
Step 4:
While the meat and veggies are cooking, combine the yogurt, cornstarch, milk, eggs, salt, pepper, and seasoning. I did not use a rotary beater, but instead just whisked it the old-fashioned way. That has to be good for your biceps, right?
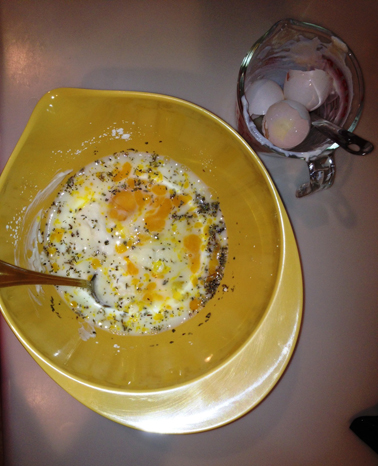
Step 5:
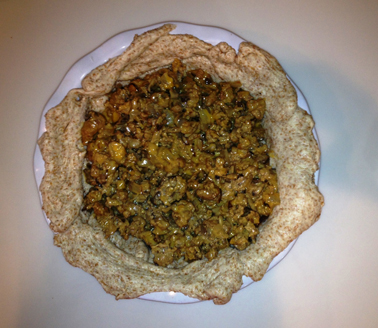
When the meat and veggies were cooked, I added the cheddar cheese and mixed together. At this point, I unrolled the pizza dough and placed it into a pie pan sprayed with cooking spray. My dough was a square, so I had to do some molding, but it worked out well.
Step 6:
Pour the meat mixture into the pie shell. At this point it looked cheesy and delicious! Can’t beat that.
Step 7:
Pour the egg mixture on top of the meat. I had a little bit of overflow. Since I decided to add veggies, there was not enough room for the egg mixture. I probably could have reduced the yogurt and milk to make it fit … but now I had leftover egg mixture to turn into an omelet. I also suggest placing the pie pan on a cookie sheet to prevent any dripping into your oven.
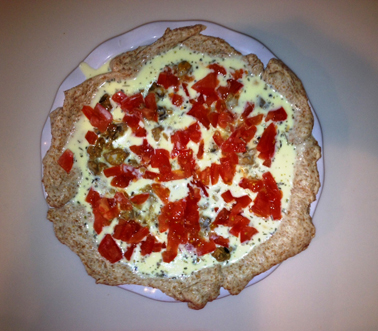
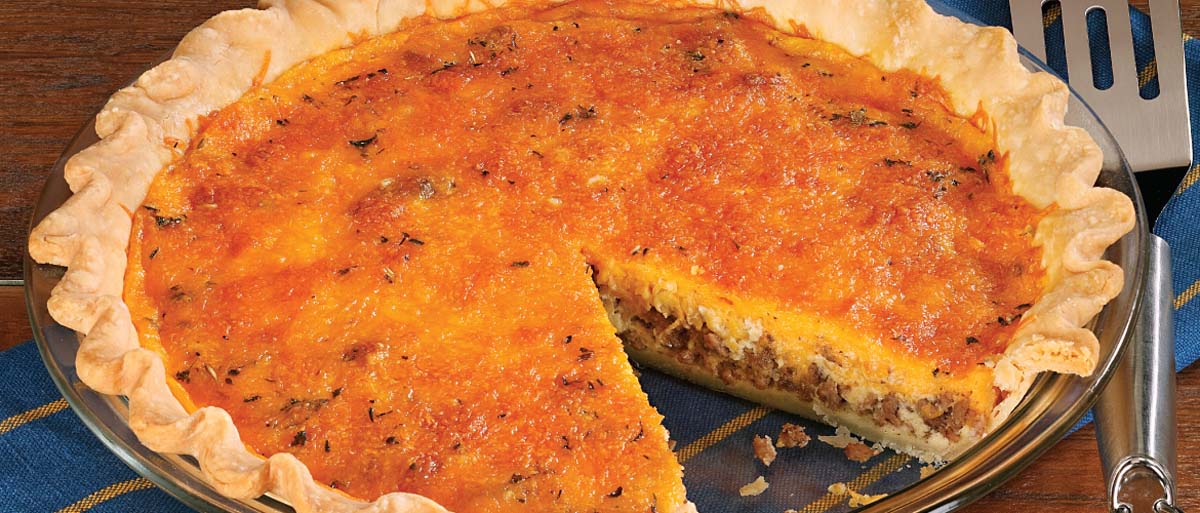
The finished product after 35 minutes:
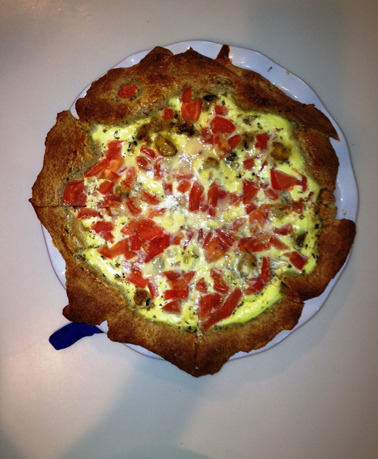
The Cheeseburger Pie was excellent; however, I would do things a bit differently next time! The center of my pie would not set – meaning there was liquid in the center. I cooked it a little extra (until the pie shell couldn’t take it any longer) and then I microwaved it for a minute to ensure the eggs were completely cooked. Here are some ideas that might solve this:
- Drain the meat in a colander before placing in the pie shell. Cook the mushrooms very well (mushrooms let off a lot of water when cooking).
- Use ½ cup milk instead of ¾ cup milk.
I served this with a fresh cucumber jicama slaw and everyone enjoyed it. My husband suggested I serve it with a side of ketchup and pickles next time. Mmm ... cheeseburger in paradise.